

Blog
Presentation Memory Box Keepsake
A Presentation Memory Box Keepsake can really add another dimension to your photo albums. Not just for storage reasons, but for displaying at home and gift giving.
Photo album presentation boxes come in a variety of sizes depending on what you are wanting to store in them. Use them on their own to keep small items safe or pair them with a matching size photo album.
You don’t have to keep them plain either. There are many ways to personalise and be creative with your photo presentation boxes.
I have had some fun creating a couple of my own recently and thought I would share how I have made them.
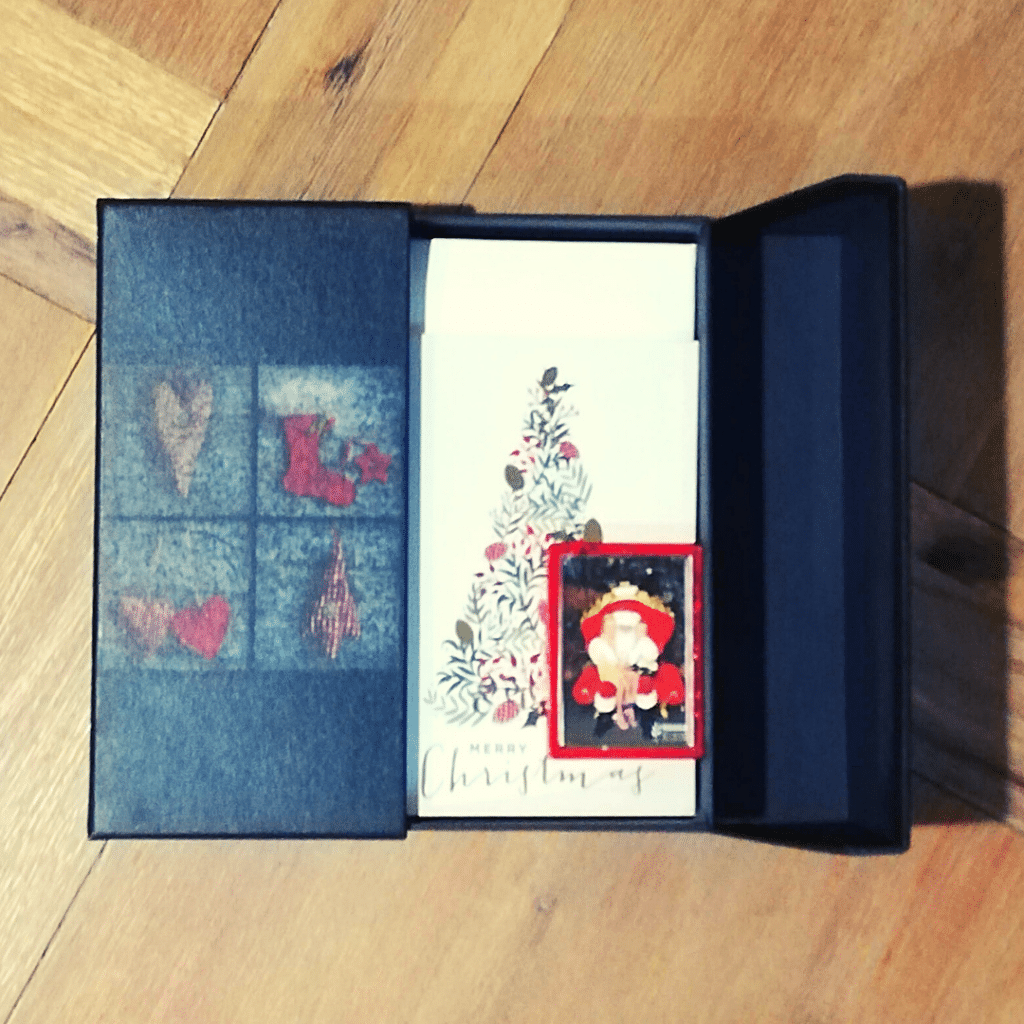
Decoupage Christmas Box
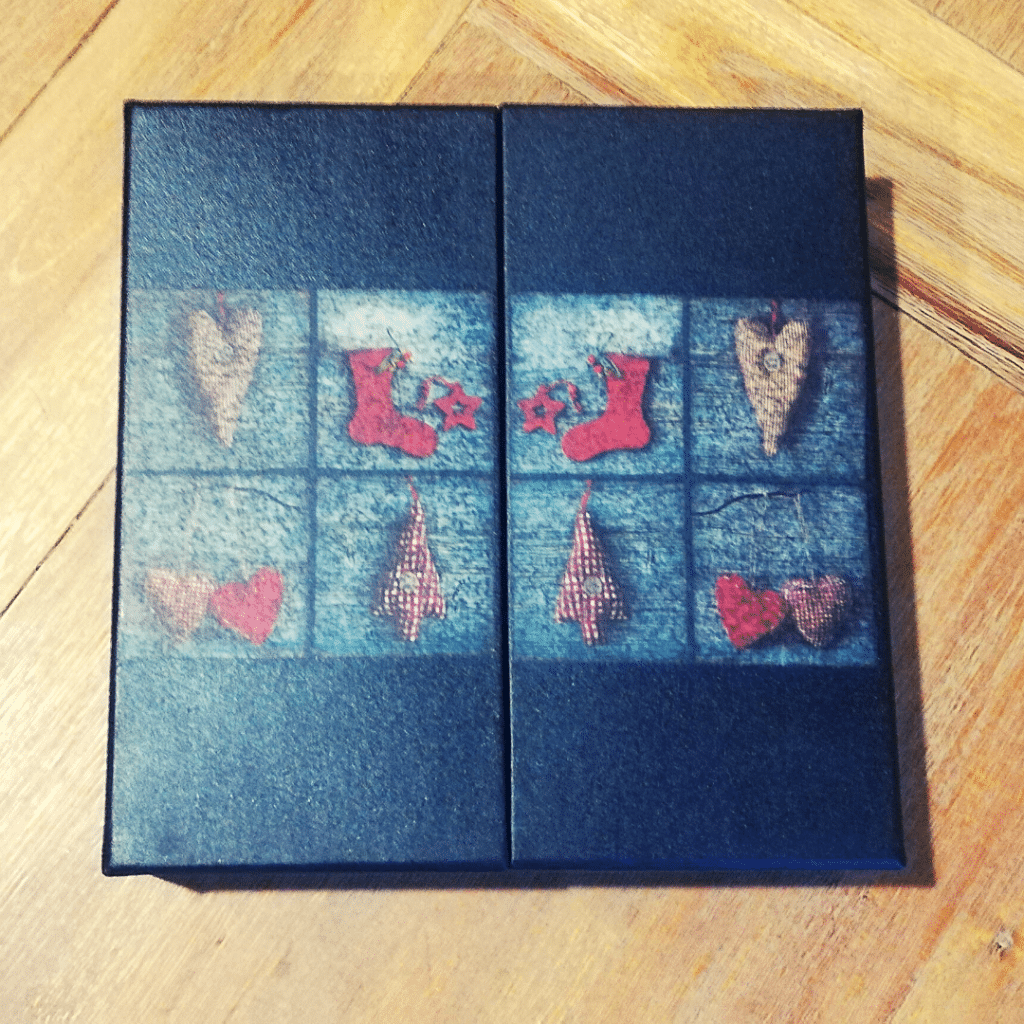
I have decoupaged the front using a Christmas napkin. If you are not familiar with decoupage, it is simply gluing paper cut-outs onto objects. A napkin is perfect, just using 1 layer (usually there are 3 very thin layers to a napkin) cut out the part that you are wanting to use and immerse into water. Carefully lay it onto your presentation box.
Use a clean sponge to take away excess water. Using a paint brush and some PVA glue, carefully spread the glue over the napkin and presentation box cover. Leave it to dry and it will now stay in place.
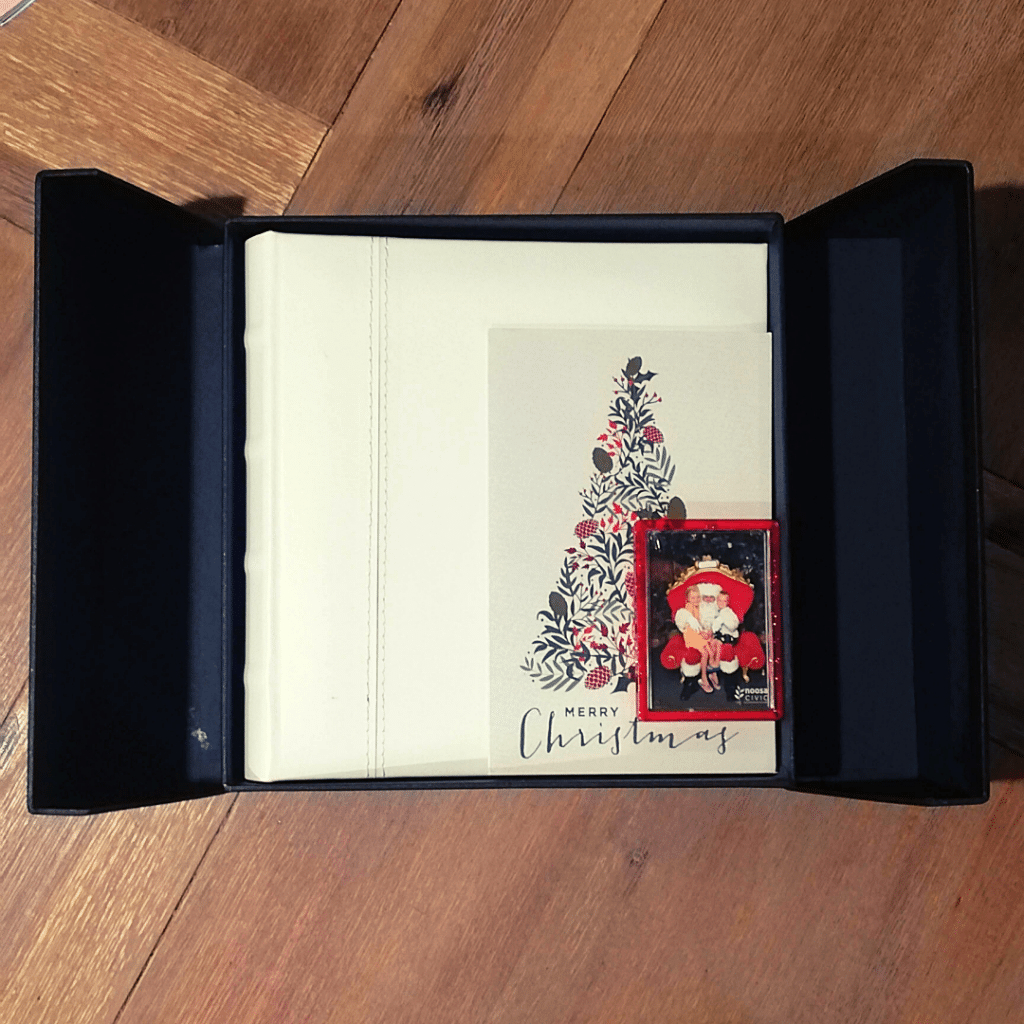
With the napkin being so thin, it actually appears that the pattern has almost been printed onto the box. Pair the box with a matching size photo album and a couple of items that match the theme of the box and you have the perfect gift!
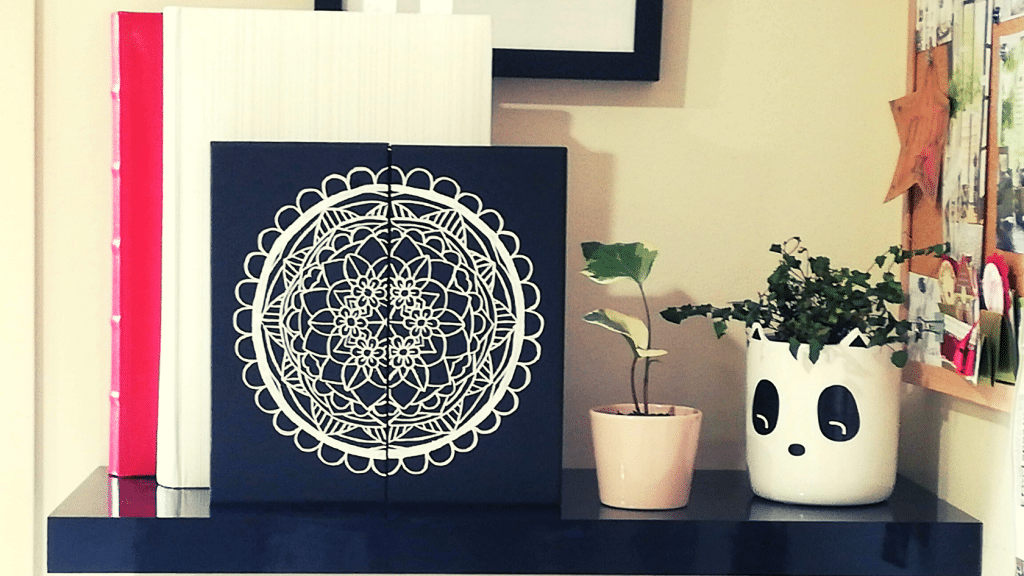
Decorate with Paint Pens
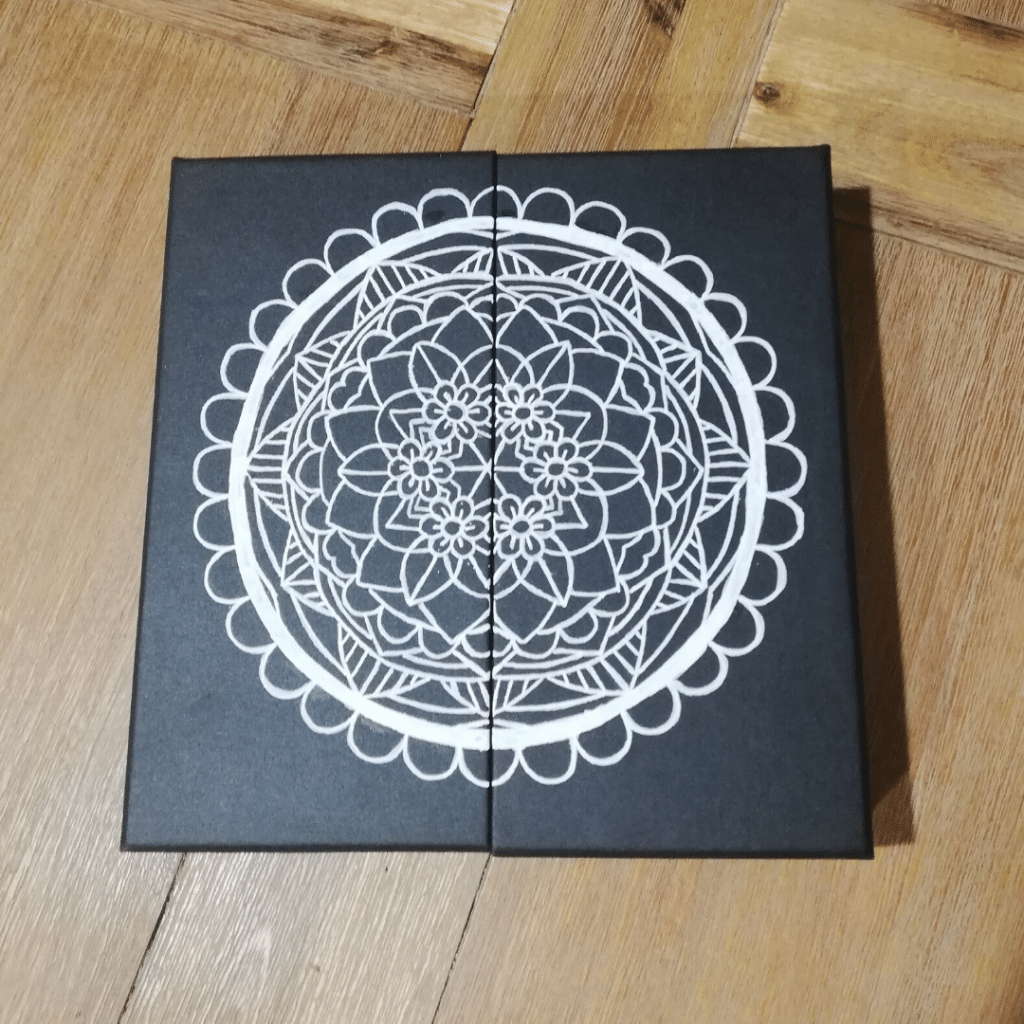
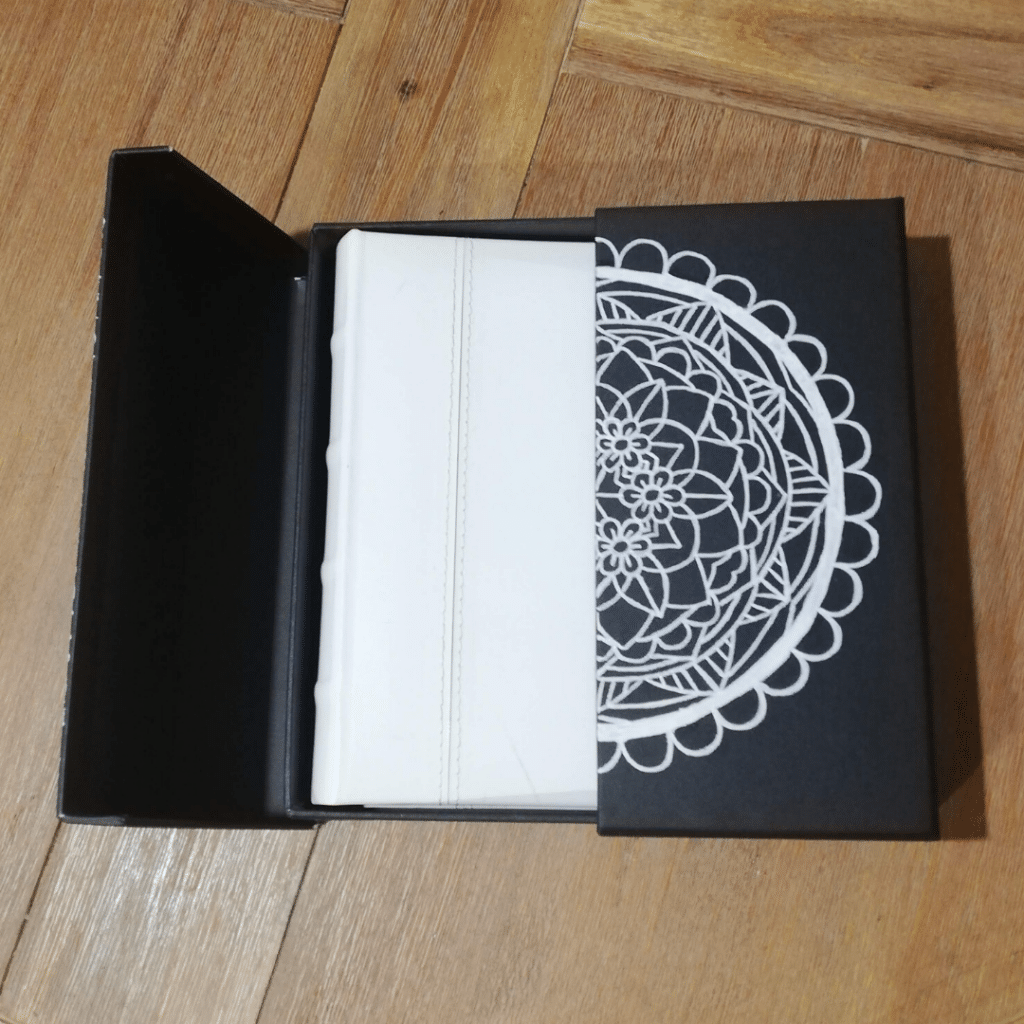
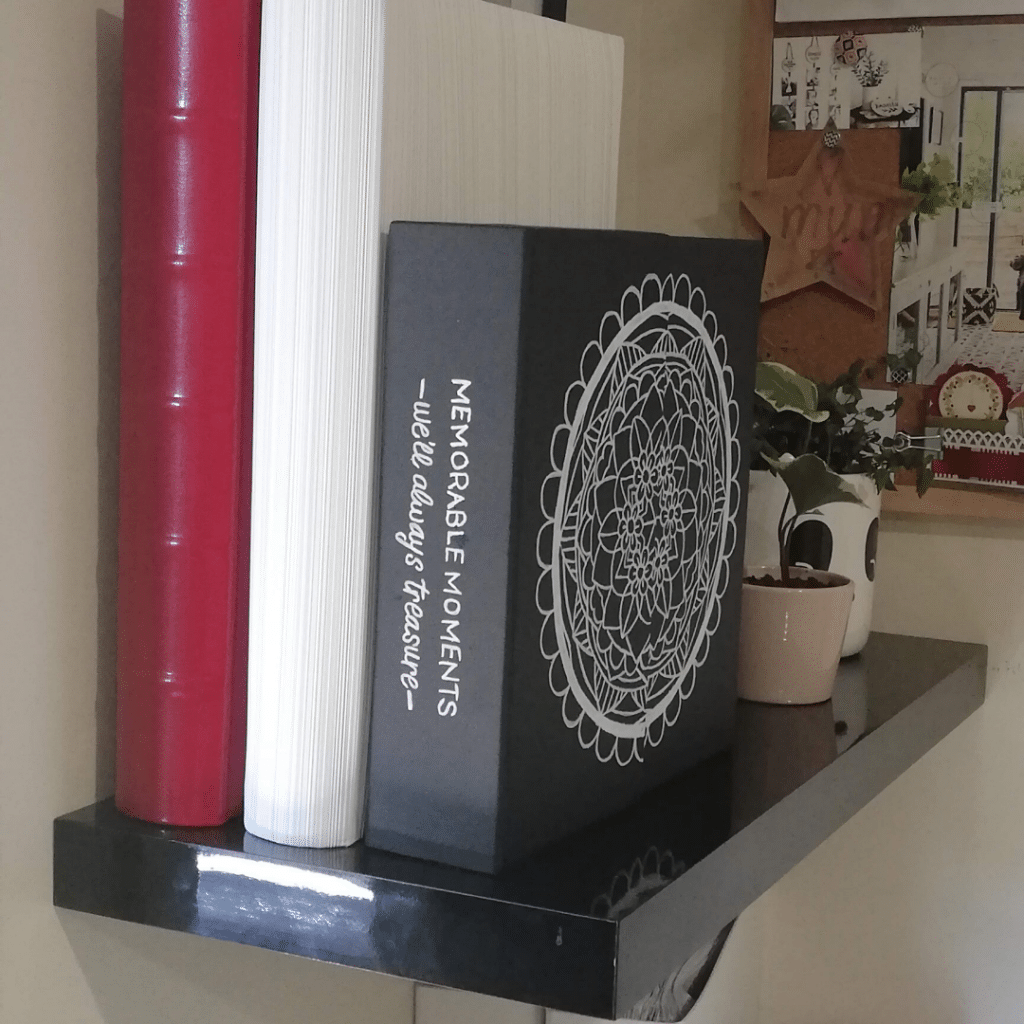

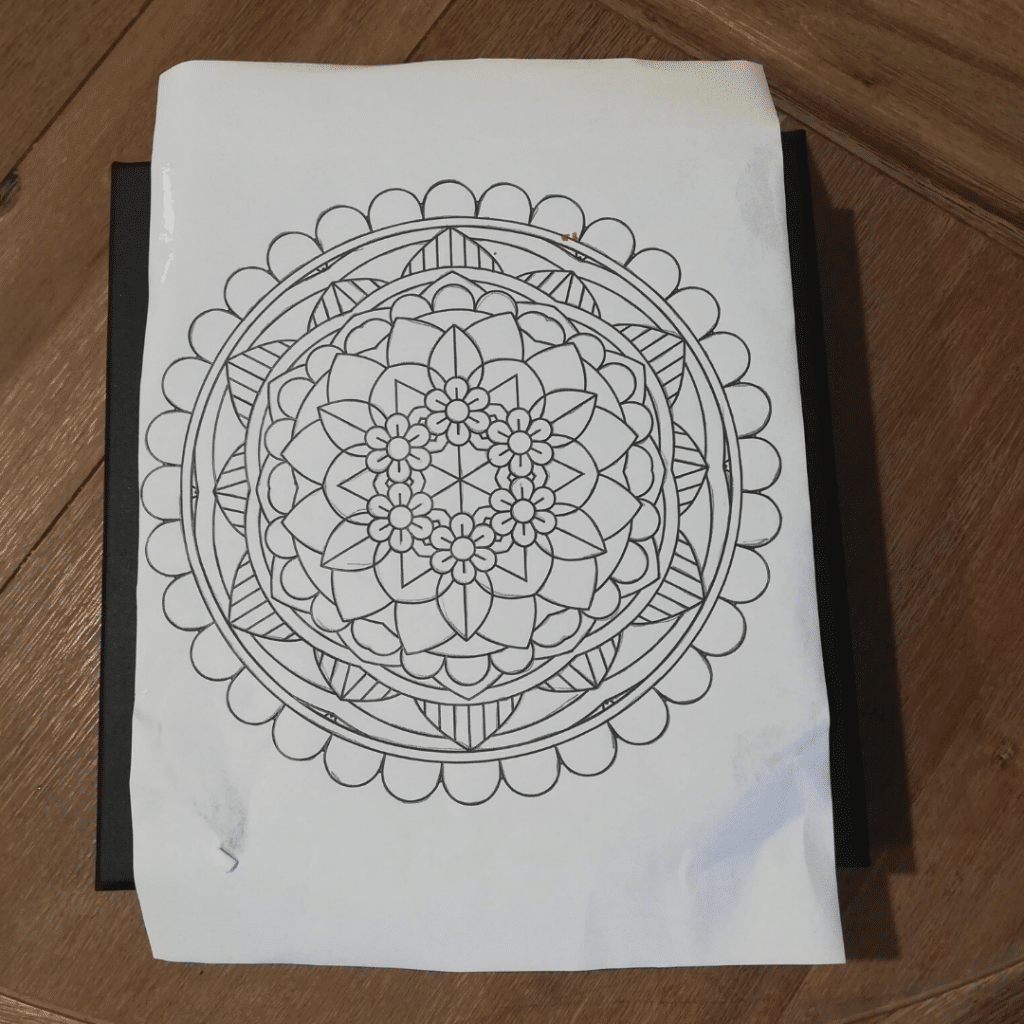
Another way to personalise your box is with paint pens. I have created this box using a fine white paint pen. You can either freehand your design onto the box with a pencil and go over it with paint or you could do what I did (I’m not good at freehand drawing, so this is the best option for getting the desired outcome) I used a white transfer paper and printed my design onto the back of it. I then placed the pattern onto the box and traced around the design. This left the pattern as a faint white marking on the box, and then I used my white paint pen to make it permanent.
I did the same with the text on the spine by printing onto the transfer paper and then used the white pen to finish it. You will find the free templates for this design at the bottom of the page.
Large decoupaged box
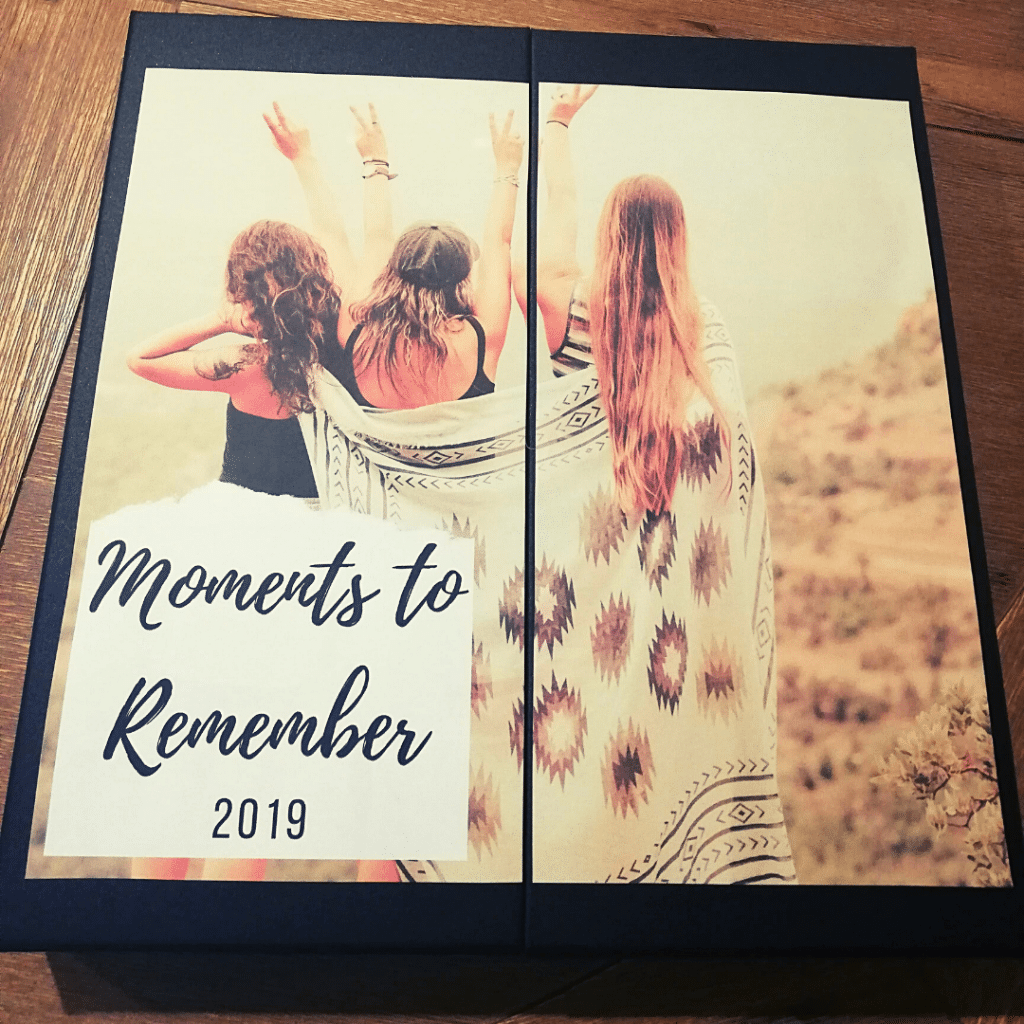
The next presentation box is a larger size. I printed a photo in 2 pieces and decoupaged it onto the front. Just be careful if you print images on an inkjet printer – you will need to let them fully dry before you can glue them as the ink may run.
Get creating!
So there you have it, there are endless ideas as to what you can do with these amazing little boxes. Be creative, use colour, use paint, whatever you have on hand to creative your own presentation memory box keepsake.
I would love to see what ideas you come up with!
Have fun.
Vee
Get tips, ideas, inspiration and exclusive offers in our Facebook Group. Click here to join
What did I use to make these projects:
Presentation Box to suit Coral Coast 200 Slip-in Albums
Presentation Box to suit Coral Coast Drymount Albums