Blog
Traditional slip-in photo albums – Boring or super convenient?
Have you ever looked at all your traditional slip-in photo albums and thought they seem a bit boring?
I recently printed about 300 photos of my children – yes, that is a lot of photos to print all in one go! But time had got away on me and I realised that I had a huge amount of digital photos but hardly any of them had been printed. I like to make an effort and have a selection of printed photos in albums on hand all the time, on display in our bookcase so anyone can pick them up and enjoy looking through them.
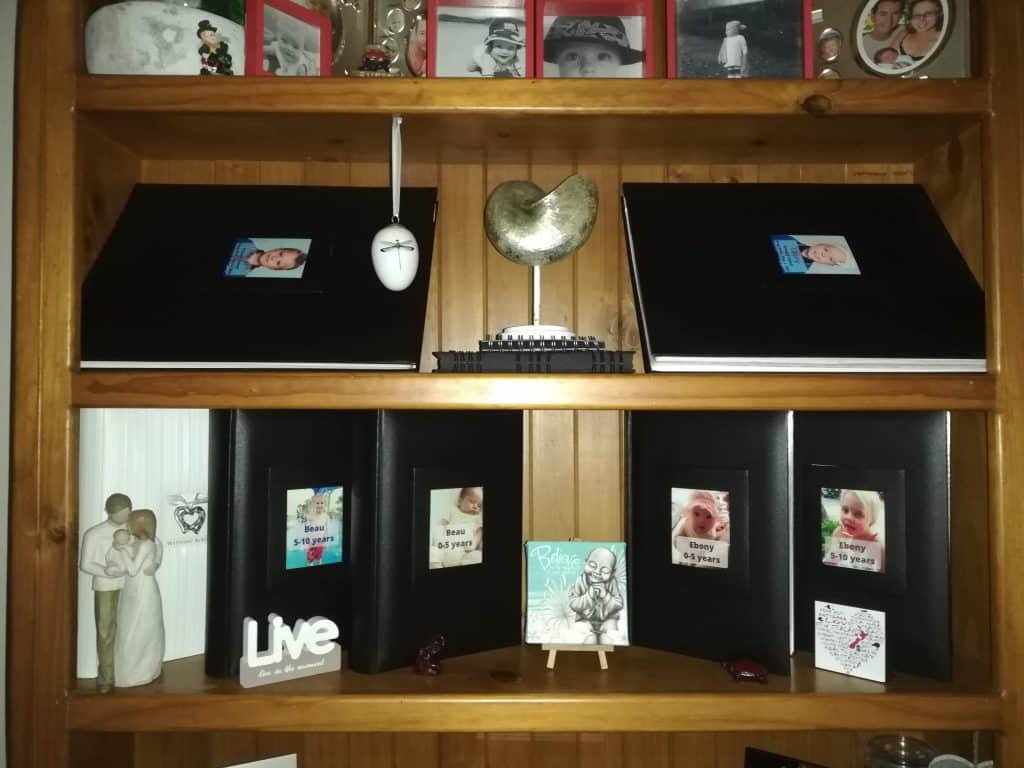
Every time they are picked up and looked at there are smiles and small talk of what is going on in the pictures. We have a variety of albums in our house but by far the slip-in albums are the most popular when it comes to storing a large amount of photos in one go. Also because it doesn’t take too long to put an album together, once the photos are printed they can just be slipped into the pockets and all that is left to do is write a few notes in the margins if you want to. They are also fantastic for giving as gifts.
Inspiration for traditional slip-in albums
After making up our latest couple of albums, I started thinking about how our scrapbook albums and drymount albums look more creative and wondered how easy it would be to put some creativity into a slip-in album. I started doing some research on Pinterest and discovered that there is huge popularity in “Pocket Scrapping”. Pocket scrapbooks use clear page protectors that are divided into smaller pockets. There are various ways that the pocket grids are organized on the page. Mostly though, the pockets are sized 3×4 and 4×6 inches. Within each pocket, scrapbookers can include journaling, art or photos on cards.
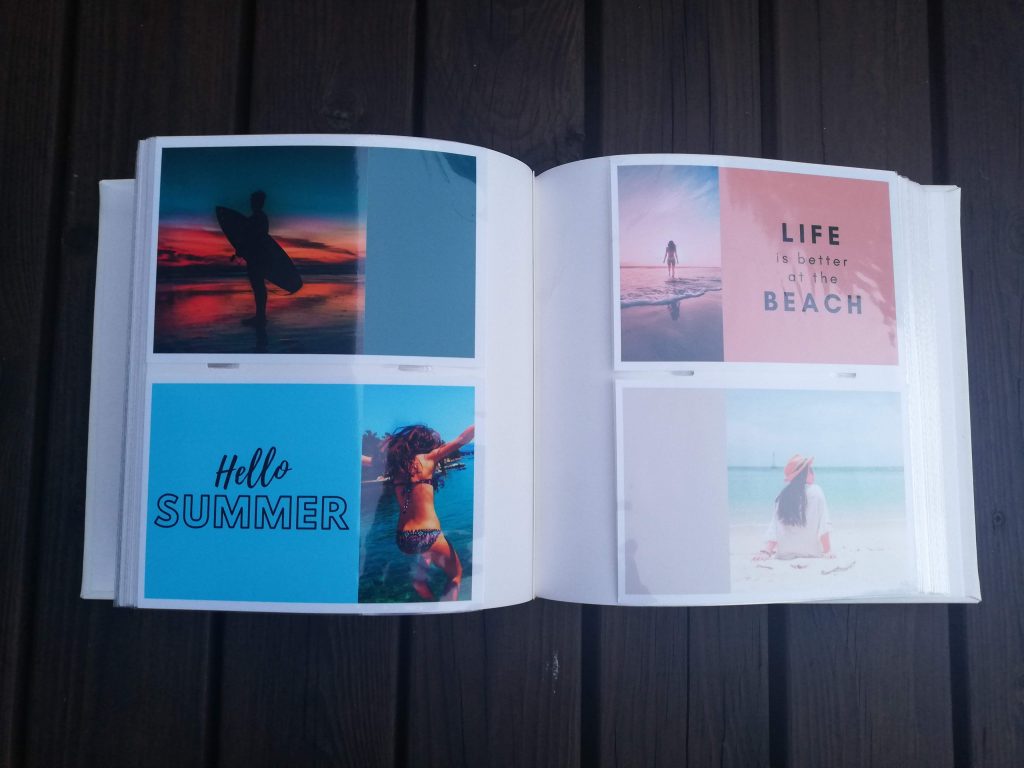
So this gave me the basis of what I would try for my next album. Using a traditional slip-in photo album that contains 4×6” pockets and some templates I created in Canva, I was able to print some photos that were traditional in size but untraditional in design.
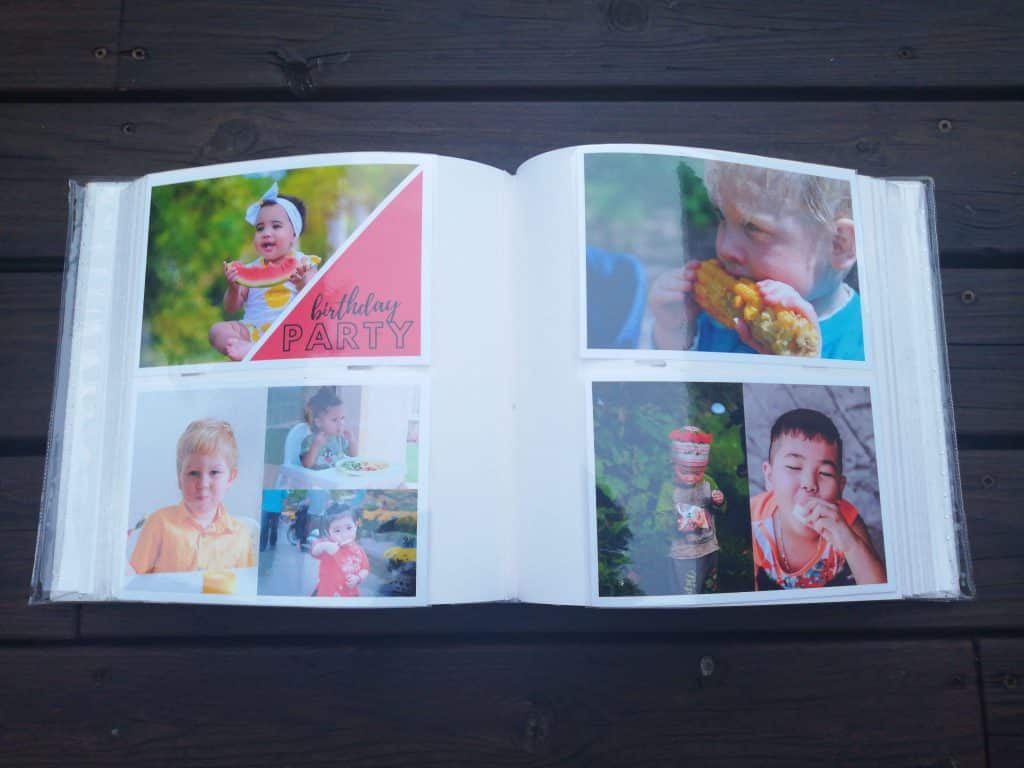
Here are 4 photos that I have created and printed. They are being displayed in our Coral Coast 200 slip-in album. I have adjusted the size of the photos to incorporate blocks of colour and text. I have printed these photos with a white border.
The next one shows how I have used 1 photo and enlarged it to cover 2 pocket spaces. Instead of having your photo as a 4×6” it is now larger as an 8×6”. Printing it this way gives you a large image but reduces the cost of printing. This image cost only 20c to print but if you were to print it as one photo it could cost 10 times that amount. These have also been printed without a border so the impact of the image being split is reduced.
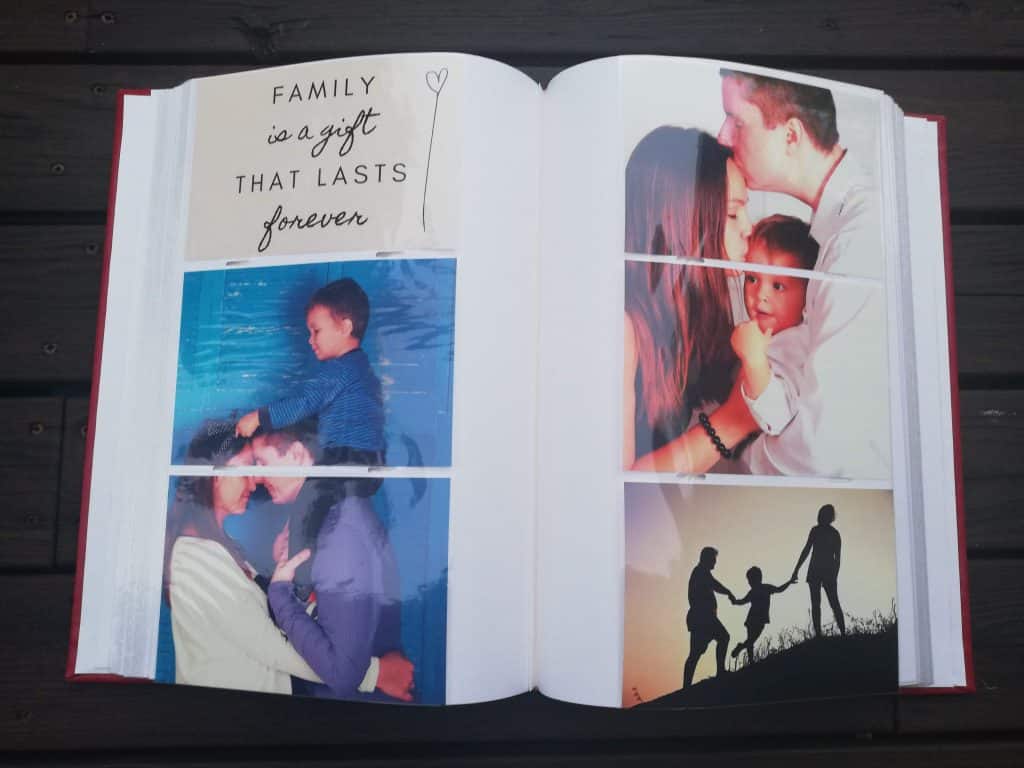
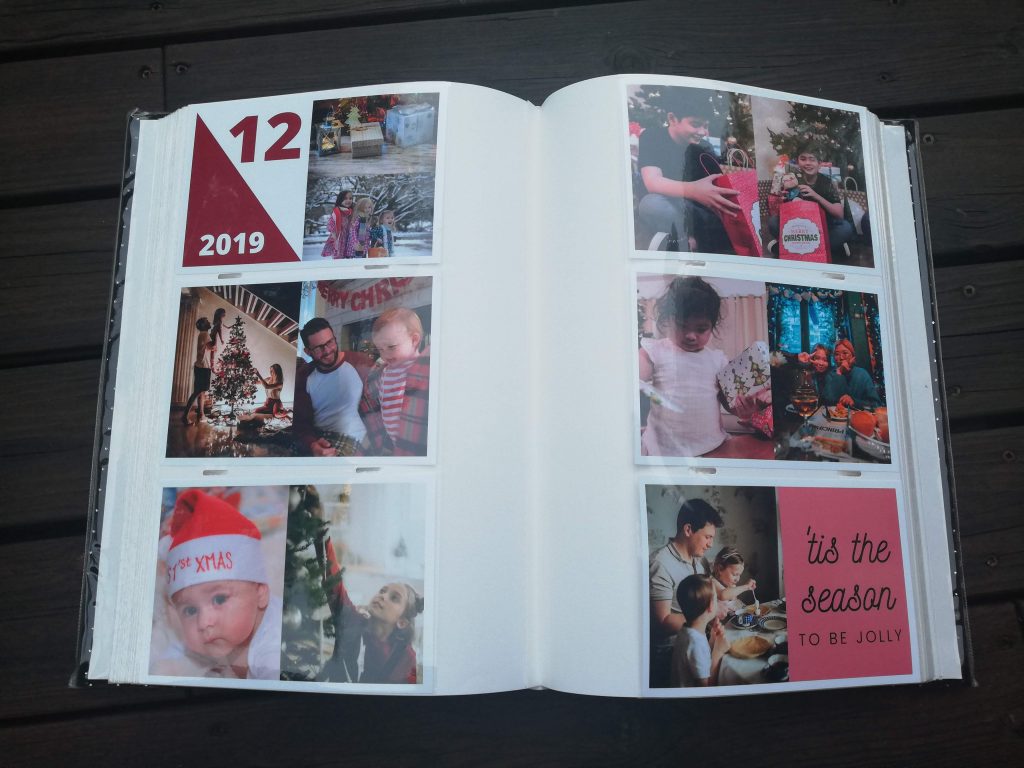
The next albums show how I have added more than 1 photo to each pocket space and incorporated colour blocks and text.
Creating the digital images
The next photo is a screen shot of how I have used Canva to create templates for just dropping photos into and adding splashes of colour and text. I have set up 2 templates, one to use with our 200 albums and another with our 300 albums. If you don’t already have an account with Canva, you can go here and set one up for free www.canva.com.
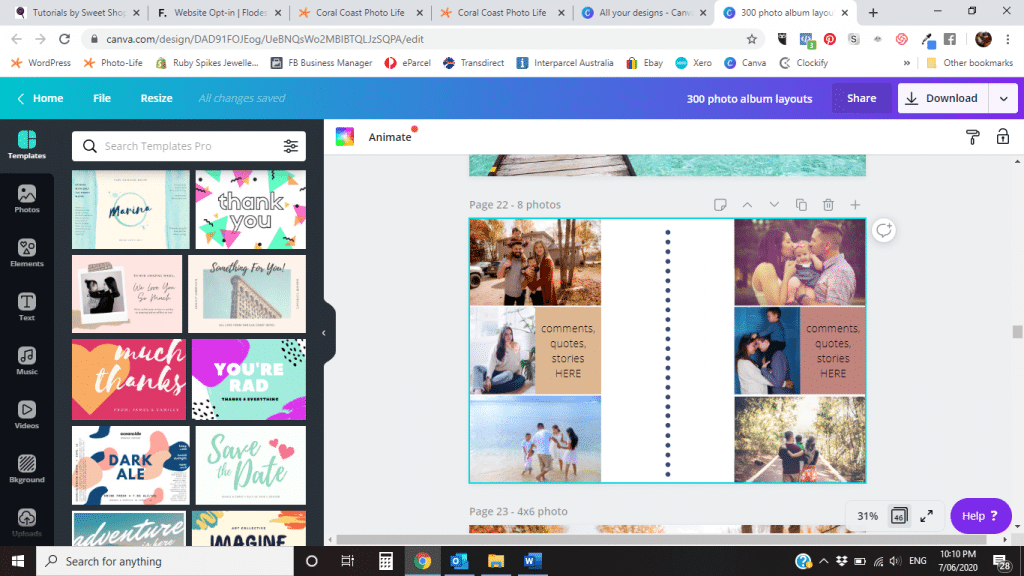
Once you get into it, they come together pretty fast as long as all your photos are easy to get to on your computer as you will need to upload them into your Canva account to be able to drop them into the templates. If you haven’t got this part sorted, I suggest you have a look at my recent video on Google Photos. This is a tool I used frequently and is synced with my mobile phone so all my photos, old and new are all together, organised by date and can also be sorted into people and places. This way you’re not trying to get photos off 5 or 10 different USBs, three phones and an old digital camera as well as scanning stuff.
What’s next?
Stay tuned for our Canva templates that will be accessible to you soon for you to just drop your own photos into the spaces, change colour, text then download and print. Easy. We will be releasing them to our VIP Family first, so if you are not a part of this, please register your details on our website www.photo-life.com.au (scroll to the bottom and complete the VIP Family form) so you will be among the first to hear about them when they are available.
So I hope that has given you a few ideas as to how you can do traditional albums but not have traditional layouts so you can have your albums looking pretty unique and special.
Until next time,
Vee


